Langer
Member
- Joined
- Sep 20, 2008
- Messages
- 221
- Reaction score
- 0
Thank you Valence, that's exactly how I feel about Prometheus.
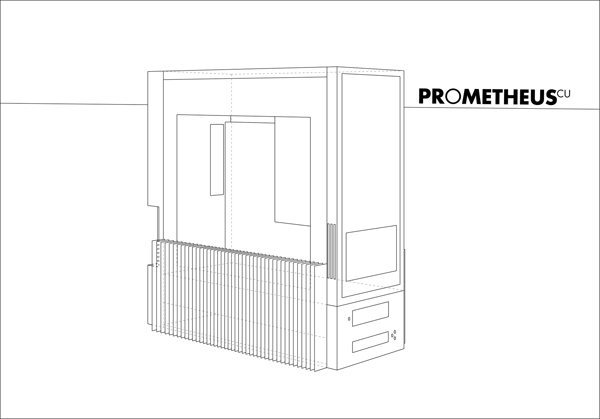
I think I'm going to go ahead with rev4, only some very minor revisions to add to it... and I'll let those be a surprise.
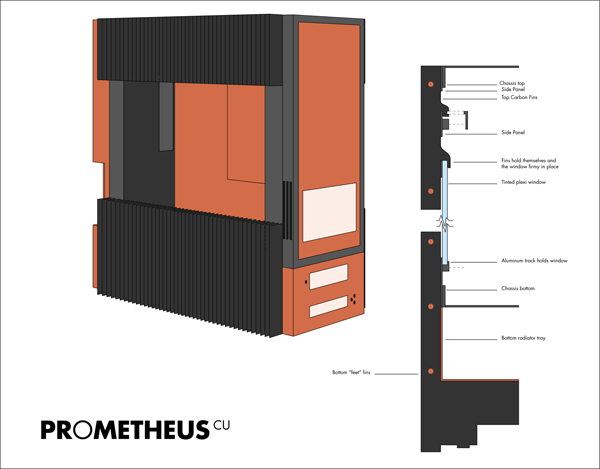
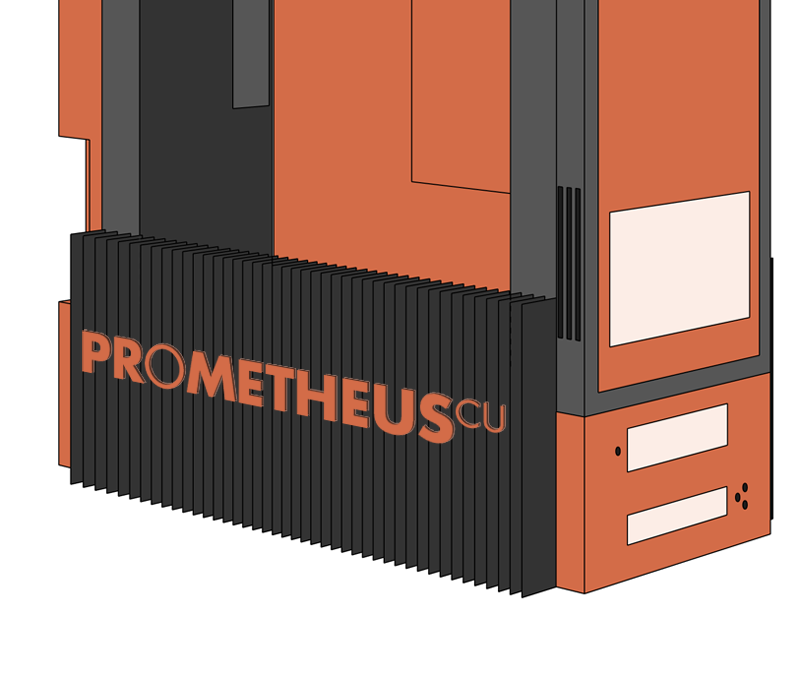
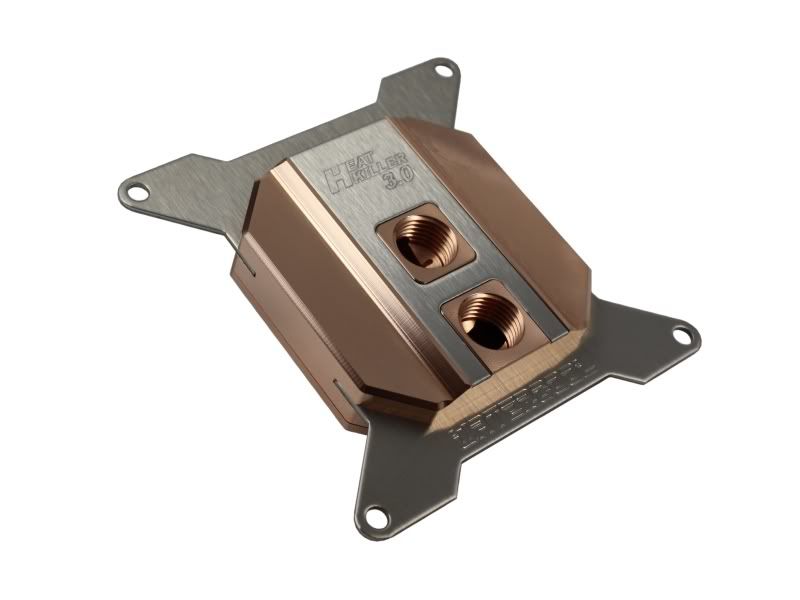
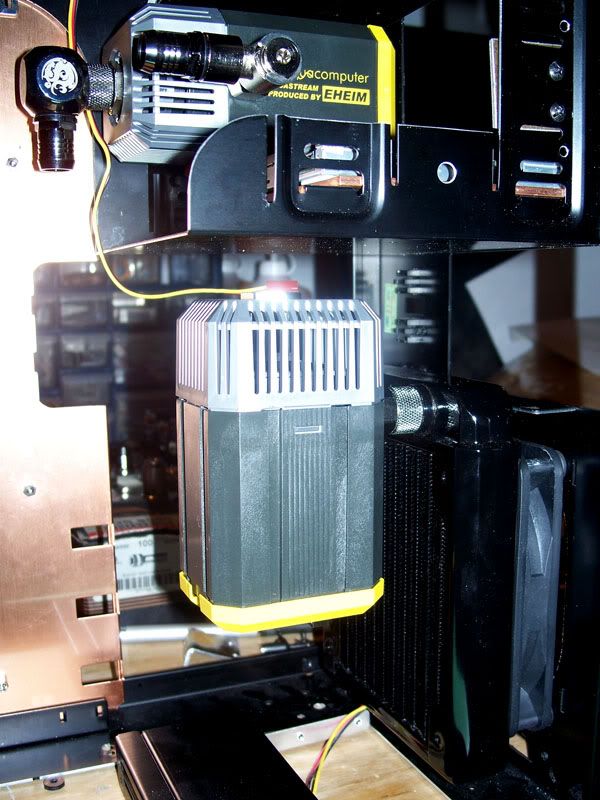
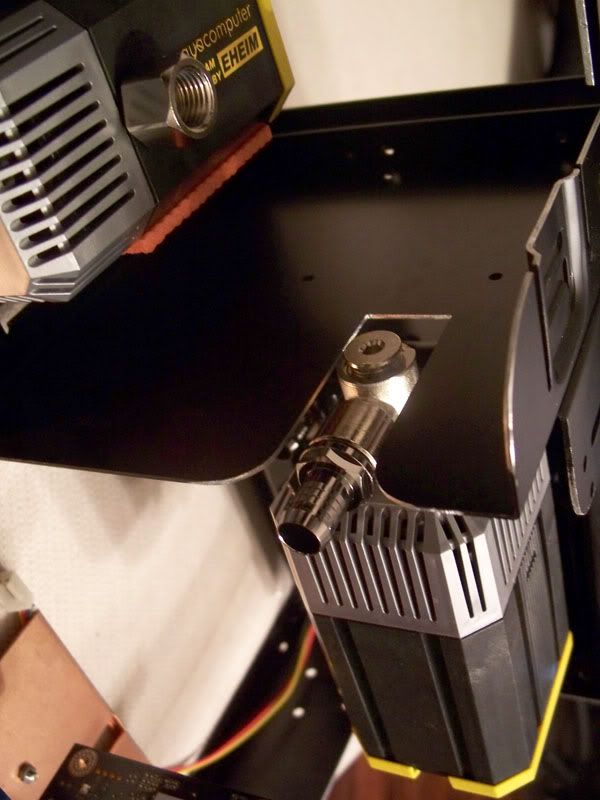
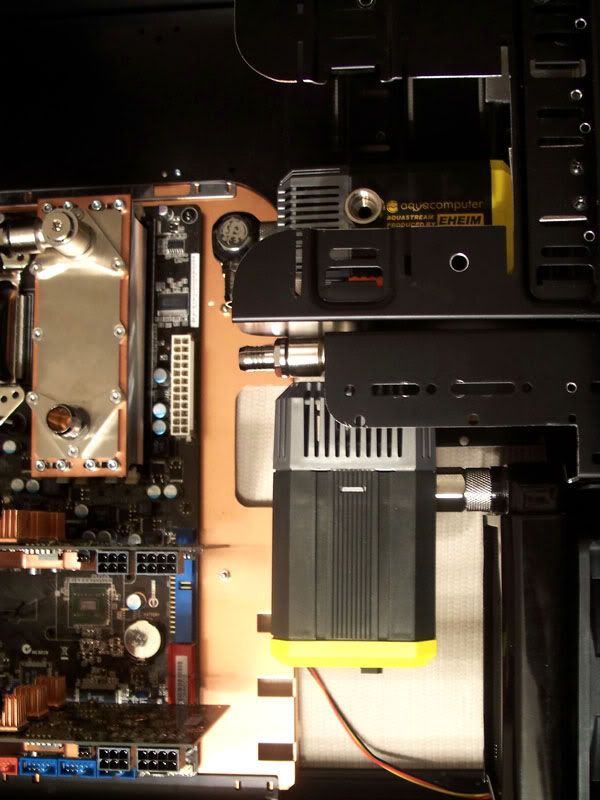
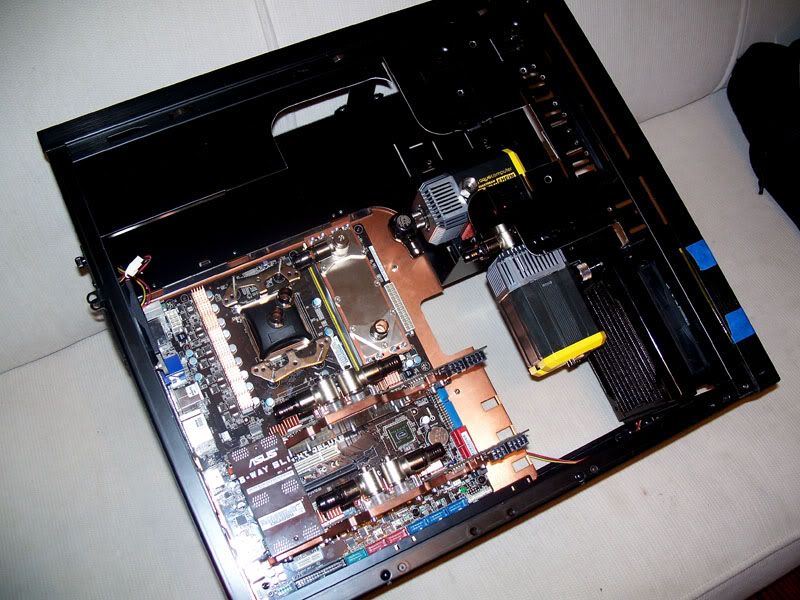
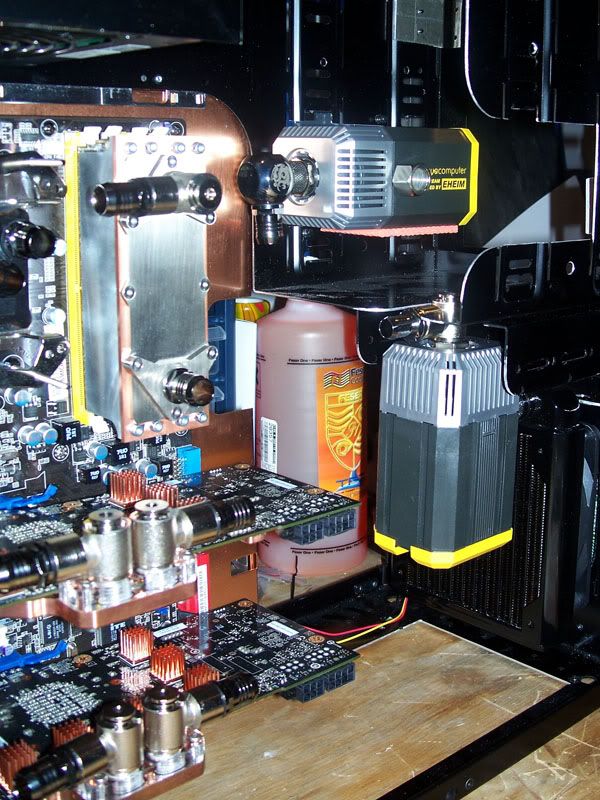
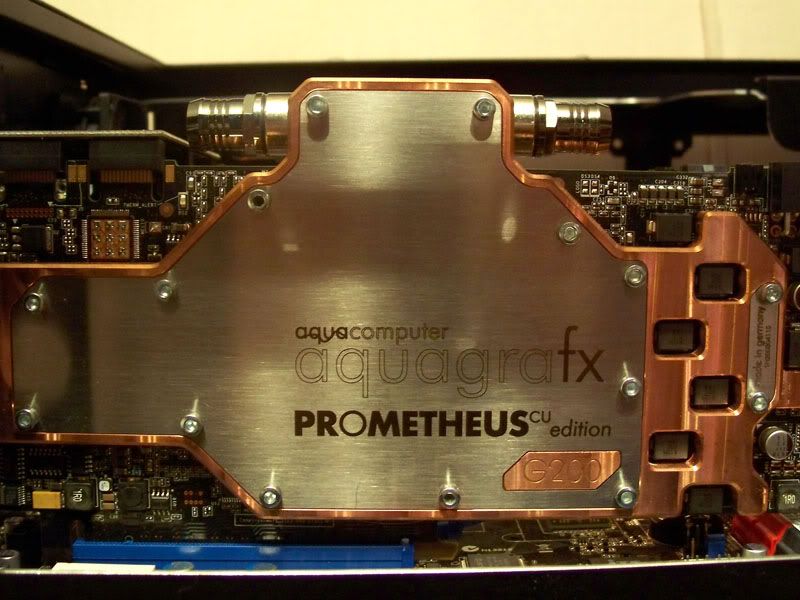
Rev 4 - assembled.
*click for big*
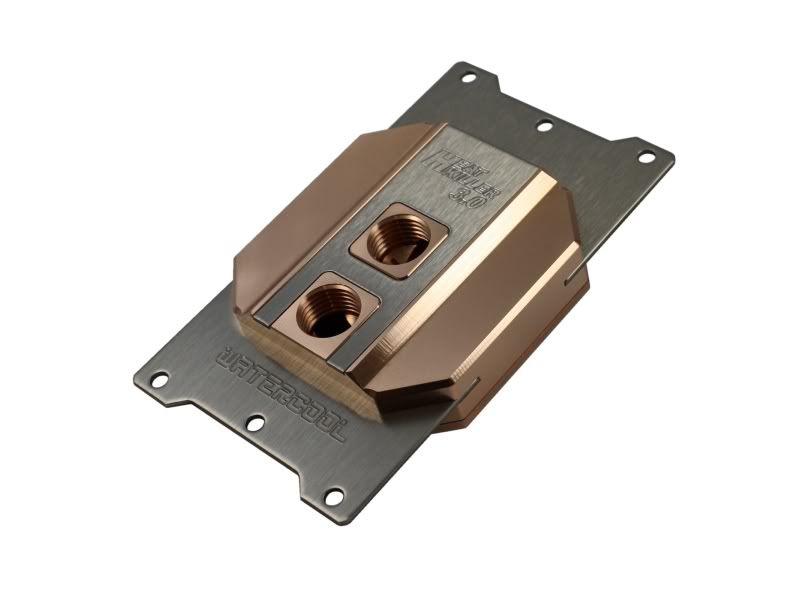
I added a splash of colour to the illustration, just to give a better idea of which parts will be made of which material:
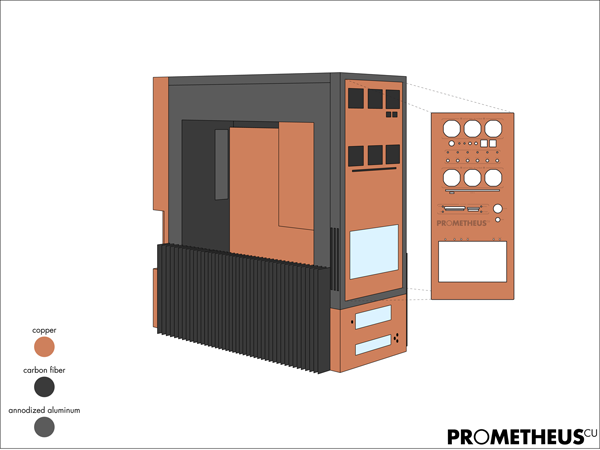
*click for big*
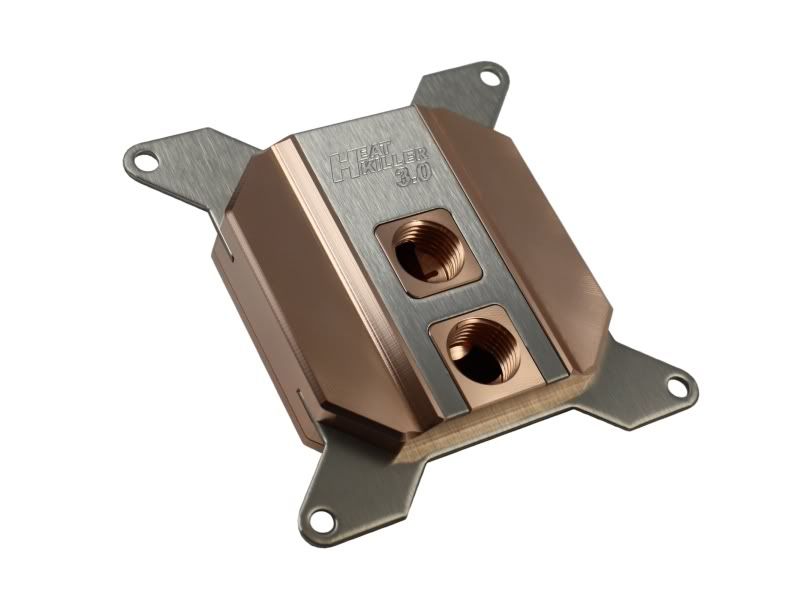
I think I'm going to go ahead with rev4, only some very minor revisions to add to it... and I'll let those be a surprise.
Rev 4 - assembled.

*click for big*
I added a splash of colour to the illustration, just to give a better idea of which parts will be made of which material:

*click for big*
")