Mounting it yourself
http://www.audioholics.com/tweaks/do-it-yourself-diy-topics/hdtv-installation
Step 1: Determine where to drill the holes
The idea here is you don't want to see the drywall holes after the job is done. Use a stud finder to ensure you are drilling into drywall and not a stud. I drilled the top hole behind where the TV was to be installed as close to the wall connections as possible. I then lined up where the second hole was to be drilled which was a few feet below the top of the dresser. It's important to vertically line these holes as closely as possible to ensure the easiest cable routing. Once these positions are marked off, drill the holes. You can finish off the job by inserting 2" grommet holes in them for a cleaner install and to ensure less chances of drywall chipping or flaking over time. Since these holes are not accessible in my situation and the cables won't be moving, I elected not to take this added step.
Step 2: Determine the necessary cable lengths
The component cable from the wallplate to my display needed to be only one foot long. Since my FIOS box was 3 feet below the TV, I figured I needed roughly 2.5 times that length to provide enough slack to route the cabling behind the drywall. I needed custom cable lengths to really ensure a clean install. Make sure you don't skimp on cable length here as it's never a good idea to keep cables under tension that are too short for the job. I used all
Planet Waves DIY self terminating cables. I can't recommend these cables highly enough not just because they are easy to cut to desired length and terminate, but because they work well and are very flexible and easy to route behind drywall or tight spaces. When routing the HDMI cable, be extra careful to not bend the cable or damage the connector during the routing. I used
Cables to Go Sonicwave HDMI cable which comes with a protective covering shell on each connector which is a great idea to leave on while running the cable through the drywall.
Step 3: Run your cables
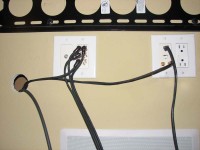
Before giving into the urge of running your FIOS box power cable through the drywall, I am obligated to point out that it’s a safety violation. It is recommended that you instead route the FIOS power cable to another outlet location near the floor using an extension cord if necessary. I ran each cable through the drywall one at a time with a finger in the bottom hole to catch the falling cable. After all of the cables were routed, I made my connections to the wall plate and FIOS box. I used bread ties to group the cables and provide strain relief.
If the holes in the wall bother you, you can either use grommet holes like I recommended earlier, or re-install the drywall pieces you cut out by slicing them to make room for the cables and then using drywall spackle to rejoin the pieces back to the wall. You can finish off by using some touch up paint to better conceal the repair though unless you have people looking behind your dresser or TV, they will never notice these holes.
Step 4: Hang your HDTV
Personally I like to use swivel mounts not only because they provide more flexible viewing options but also because you can pivot the TV up while making all of your A/V connections. I used a few more bread ties to secure the heavy power cord from my Panasonic Plasma to ensure it would never come loose and dangle below the display.
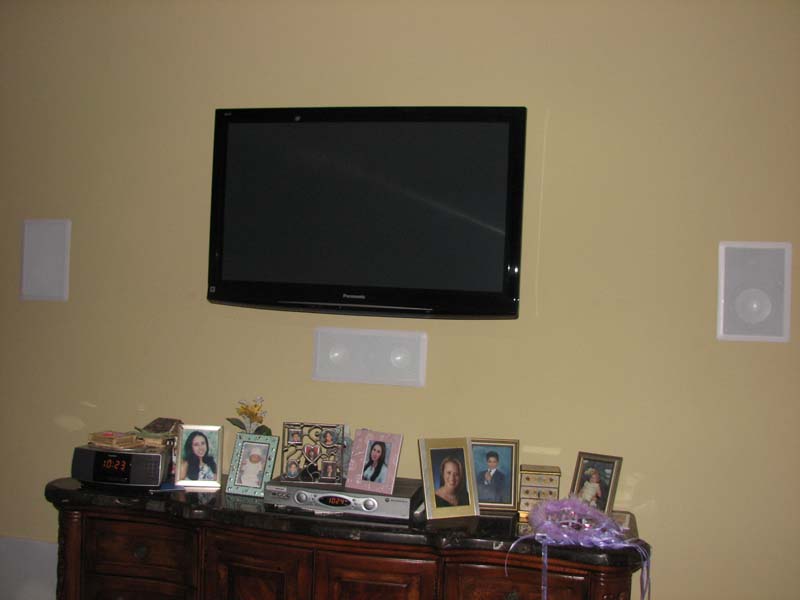
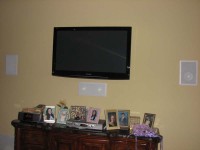
So there you have it. A clean HDTV install with no visible cables, or box speakers or subwoofers in the room. The wife is happy with the aesthetics and I am thrilled with the sonics and video aspects of the system. Now if only we could both stay awake to watch a full featured film lying down in bed.