Android has a number of Developer options built in that allow you to go beyond the regular user-facing functionality to get even greater control over your daily experience. Here are some of our tips to get the most from your phone.
First and foremost, Developer options can sometimes be known as “Developer mode” on some Android phones and tablets. These added controls are somewhat obviously not available right out of the box and are designed to let developers (and, by extension, users) configure system behaviors to help profile and debug app and system performance.
Before we start, you will need to go to Settings > System > About phone > Tap “Build number” seven times > Enter PIN or pattern. To access the wider Developer options or Developer mode, you’ll need to head to Settings > System > Developer options. From here, we can start making tweaks.
One thing I always suggest that people do is enable USB Debugging and OEM unlocking while we’re in the vicinity. These are super useful if you want to manually flash updates and whatnot on your device. This step is totally unnecessary, but it might come in handy if something goes wrong with your phone at any point in the future.
Default USB configuration
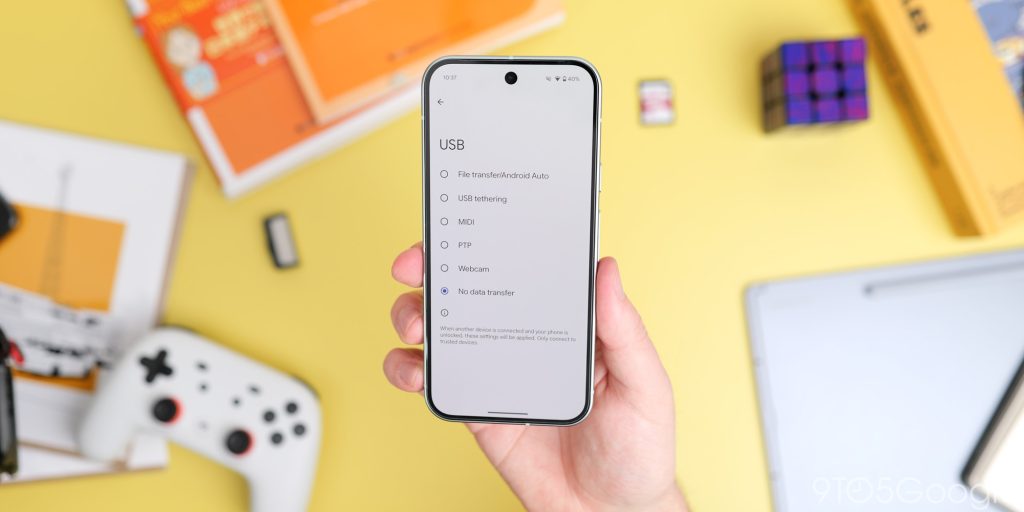
When you plug your Android phone into a PC or laptop, there is a predefined process that will run automatically. This can vary from phone to phone, but thanks to Android developer options, you can adjust this to suit your own personal preference.
You can choose between File Transfer mode, USB tethering, act as a digital interface for audio with MIDI, or picture transfer with PTP mode. You can also set it so your Android phone doesn’t transfer any data and will just charge if that is supported.
This is a real timesaver if you only plug your phone into a computer to remove files. It can be enabled by heading to Settings > System > Developer options > Default USB configuration. From here, just set up whatever option you prefer.
Enable freeform windows
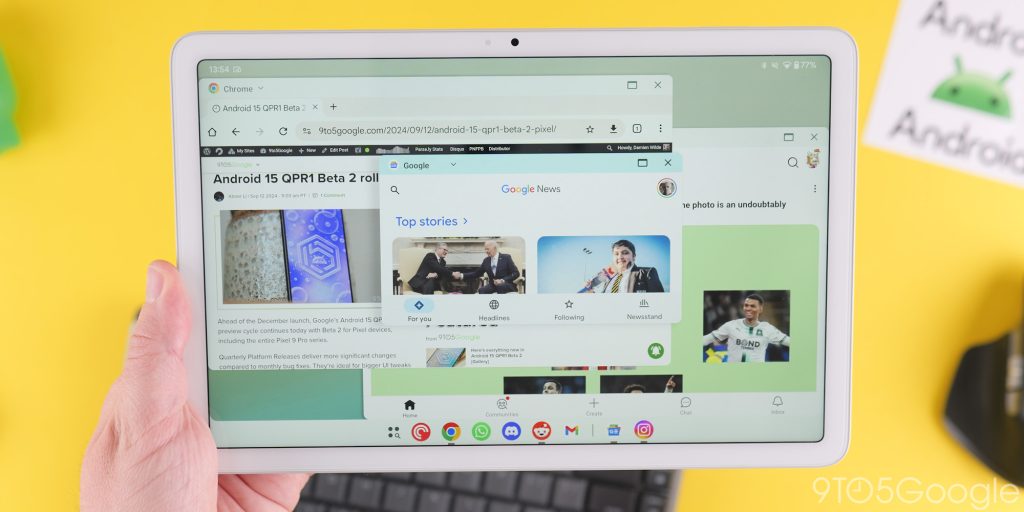
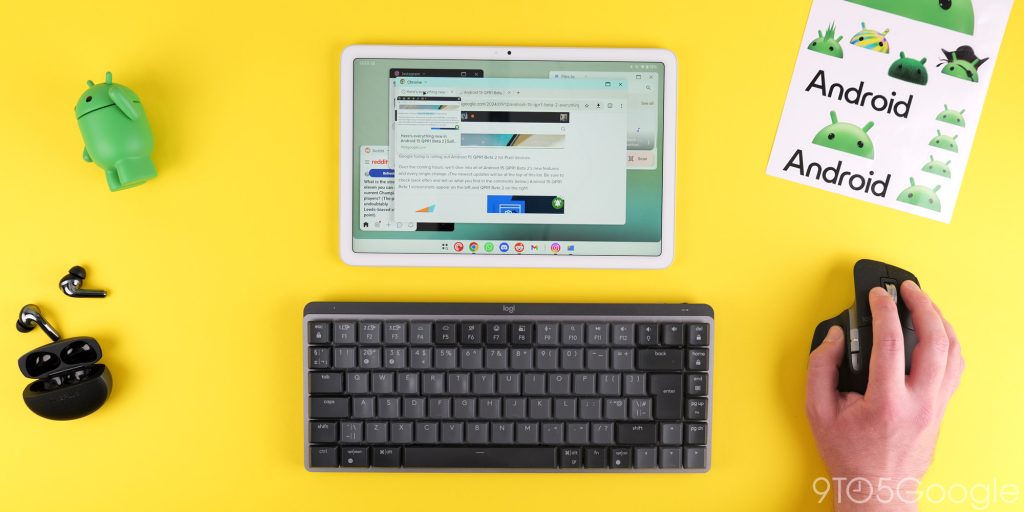
If you have a Pixel Tablet, I think you should at least try this function out. With the December Pixel Drop, Google added a basic desktop mode for the first-party Android tablet. Freeform windows are not new; they’ve been on other Android skins for a long time now. Samsung DeX still reigns supreme as a lite desktop replacement, but this is a neat extra solution that lets you run multiple Android applications in small windows on your tablet.
In tandem with another toggle, you can even get apps working in this pseudo-desktop mode that would ordinarily just crash. The “Force activities to be resizeable” option ties this all together. Sure, the Pixel Tablet isn’t objectively the best, but it can be a fun little productivity centerpiece if you pair it with a keyboard and mouse.
Head to Settings > System > Developer options > Then toggle “Enabled freeform windows” and “Force activities to be resizeable.”
Force split-screen mode
The default split-screen mode in Android is excellent at allowing you to truly multitask on your phone. Sadly, it doesn’t work with every single application for one reason or another. Thanks to a toggle within the Developer options section added back in Android 12 you can force split-screen mode even for unsupported apps on your Android phone (or tablet).
You might encounter some issues with unsupported applications, but this is especially useful as most apps will scale according to your screen size anyway. To enable head to Settings > System > Developer options > Force activities to be resizable.
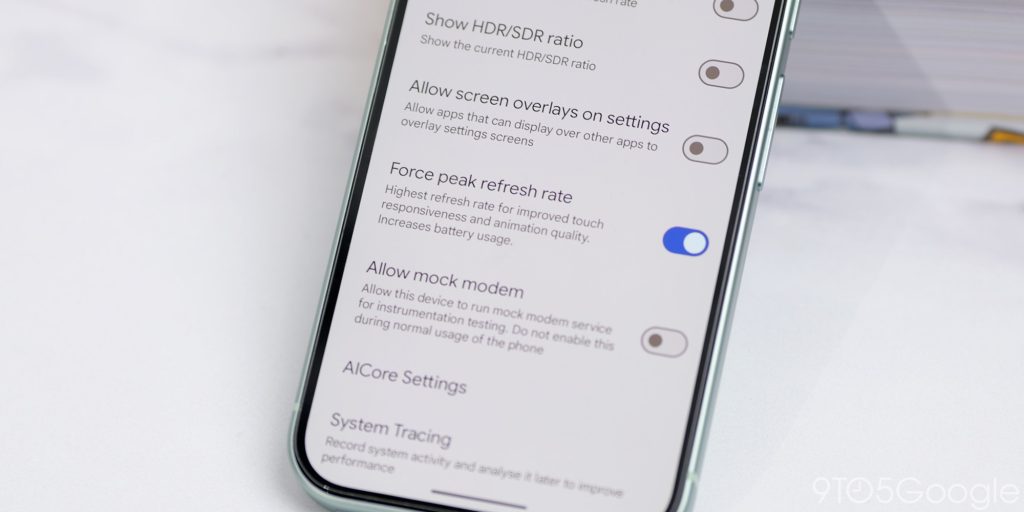
Force peak refresh rate
Even if your phone has a high refresh rate screen, it might not always be running at the maximum rate. You might notice frame drops or times where the refresh rate dips to lower speeds. Often this is limited by the applications on your device, but the Android system will do this to save battery or even improve performance.
That said, you might have a 90, 120Hz, or even higher refresh rate screen. Thanks to the Developer options section within Android, you are able to force your devices peak refresh rate to be used across every area of the system.
To enable this, head to Settings > System > Developer options > Force peak refresh rate > Toggle “On.”
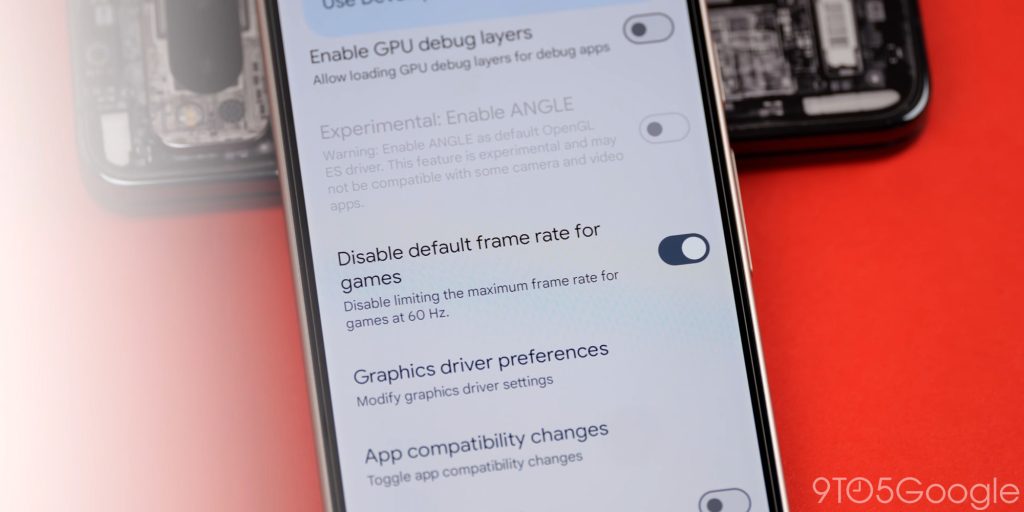
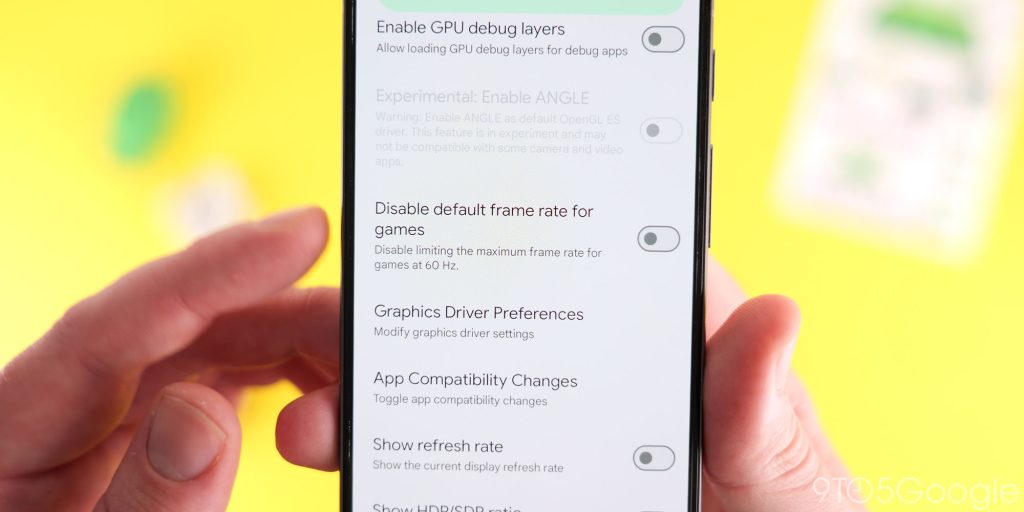
Disable framerate limit for games
The jury is out on how much difference this developer toggle makes, but it can’t hurt to try in our opinion. Android 15 introduced a new toggle that lets you disable the “default” 60Hz frame limit for most Android games. Effectively if you have a 90Hz, 120Hz or higher refresh rate screen then games might not run at optimal settings.
By enabling the “Disable default frame rate for games” toggle you can see an uplift. In our testing it’s a bit hit or miss, but it could help improve some games as some do work without using this toggle. It can’t hurt to try, so we suggest enabling it if you’re a hardened mobile gamer.
Just head to Settings > System > Developer options > Disable default frame rate for games.
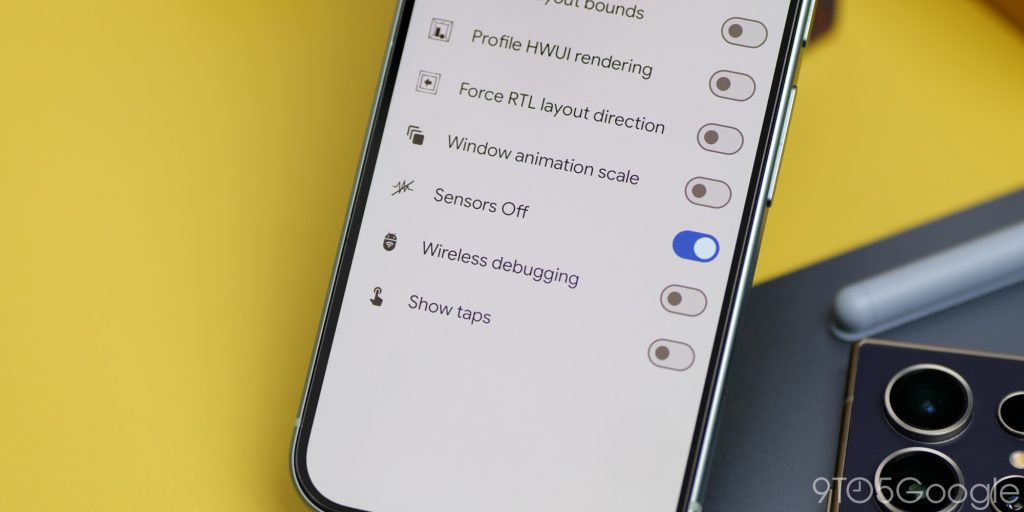
Block all sensors tile
Your smartphone knows a lot about you. Some might say too much. If you are worried about your privacy at certain points, then there is a neat quick toggle to disable all of your on-device sensors including GPS, microphone, camera, accelerometer, gyroscope, proximity sensor, and even magnetometer will be inaccessible to any app on your phone while this is toggled.
There could be some battery benefits here, too. You will lose out on some functionality if you leave the block in place all the time though. However, it’s still useful to have access to. To add it to your device Quick Settings panel, head to Settings > System > Developer options > Quick settings developer tiles > Sensors off.
This will be added to the first position in your Quick Settings panel or notification shade but can be moved to wherever you see fit. Mobile data and Wi-Fi are unaffected by this tile.
Select mock location app
There are tons of applications that need your location for functionality. Some might argue too many. There are tons of apps out there that allow you to fake your current location, which can be useful for games that require location for certain in-game unlocks or features. A prime example is Pokémon Go or even streaming apps when you want to access geo-locked content.
You can use location spoofing applications to default to a specified region, and with the Developer options, you can place your Android anywhere on the planet with zero problems. To enable head to Settings > System > Developer options > Select mock location app > Now select your preferred app.